Overview of Aluminum Boat Paint
In my two decades of boating experience, I’ve learned that the right paint can significantly enhance a boat’s durability and aesthetics. Let’s examine the unique properties of aluminum boat paint and the benefits of applying a coat to aluminum boats.
Properties of Aluminum Boat Paint
Aluminum boat paint is specially formulated to adhere to the metal’s surface while providing robust protection against the elements. Key properties include:
- Adhesion: This paint contains specific bonding agents that enable it to adhere to aluminum surfaces, which are otherwise challenging for paint to stick to reliably.
- Corrosion Resistance: It serves as a barrier against the corrosive effects of saltwater, preventing the aluminum from oxidizing and weakening.
- Flexibility: The paint is designed to be flexible enough to withstand the minor expansions and contractions of the hull without cracking.
Benefits of Coating Aluminum Boats
Coating your aluminum boat with quality paint offers numerous benefits:
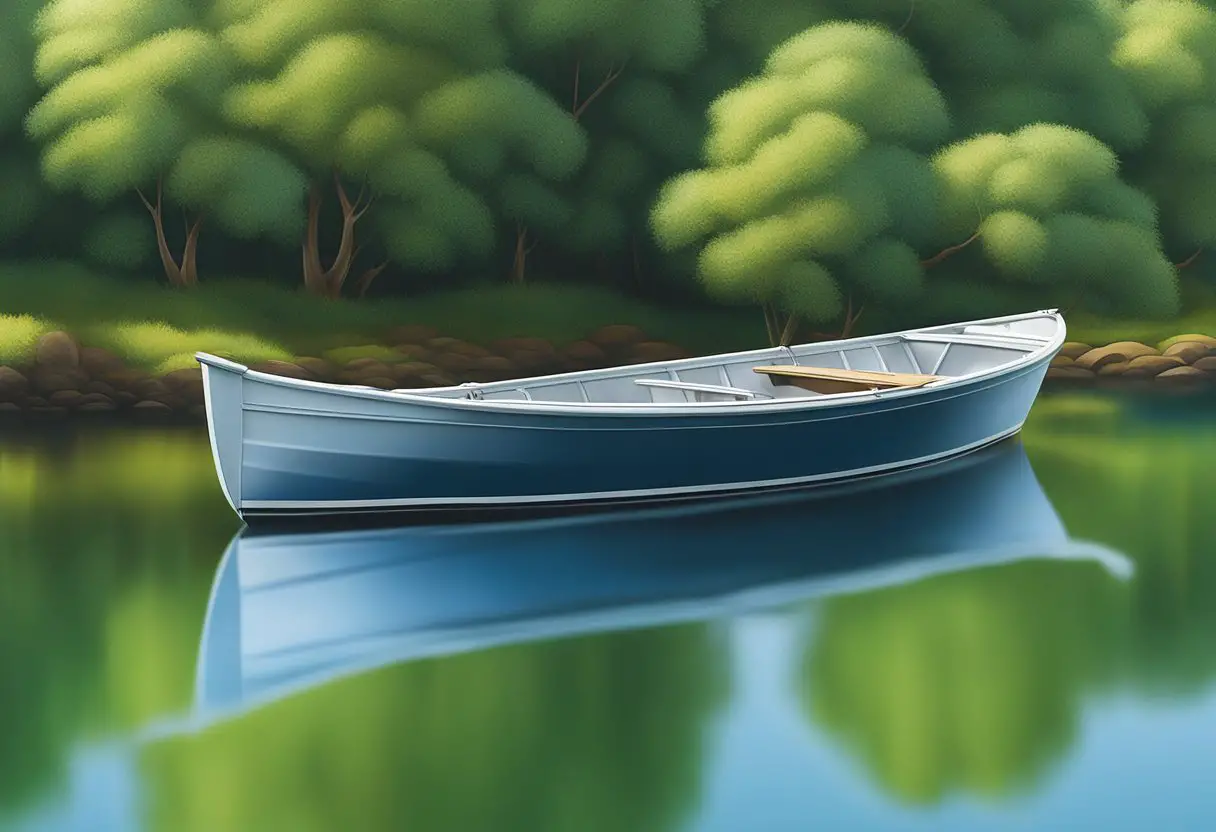
- Extended Lifespan: By shielding the aluminum from direct exposure to water and UV radiation, the paint significantly extends the lifespan of the boat.
- Improved Appearance: A well-applied coat of paint gives your boat a refreshed and polished look, enhancing its overall appearance and resale value.
- Maintenance Ease: Painted surfaces are usually easier to clean and maintain compared to bare aluminum.
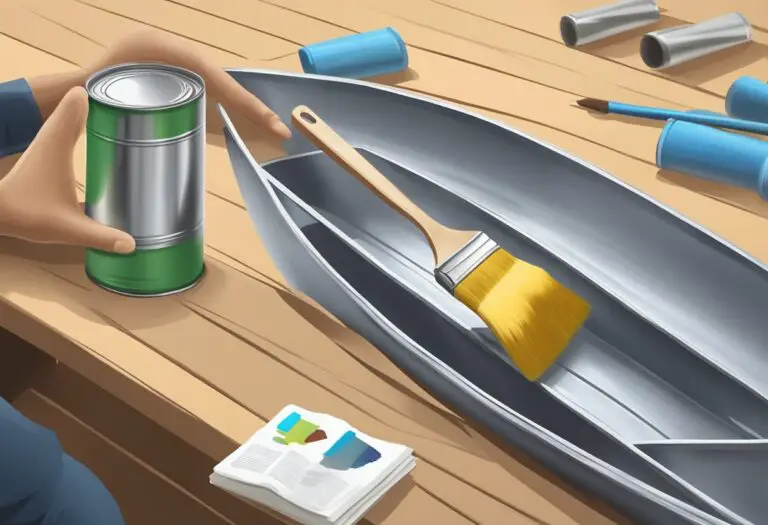
Preparation for Painting
When painting an aluminum boat, thorough preparation is essential for a durable finish. With my 20 years of experience in boating, I’ve found that meticulous cleaning and priming are the foundations of a successful paint job.
Cleaning the Aluminum Surface
Firstly, cleaning the aluminum surface requires removing any debris, dirt, and oils that could prevent paint adhesion. I always start with a high-pressure wash to dislodge any loose material. For stubborn stains, a mixture of 50% distilled vinegar and 50% warm water can be effective. It’s important to reach every nook and cranny, as overlooked contaminants can cause flaking and peeling later on.
- Tools and Materials:
- High-pressure washer
- Vinegar and water solution
- Clean rags or sponges
After cleaning, I ensure the surface is completely dry before proceeding to sanding, which will roughen the surface for primer adherence.
Aluminum Surface Priming
Priming is a step I never skip. It creates a layer that enhances paint adhesion and adds to the overall longevity of the paint job. My preferred choice is a self-etching primer, which is specifically designed for aluminum and creates the best base layer for the paint. A uniform and thin primer layer must be applied, and I always check for any missed spots or drips.
- Application Process:
- Apply a thin, even layer of self-etching primer.
- Allow the primer to dry completely, following the manufacturer’s recommended time frame.
By ensuring that each step in the preparation process is performed meticulously, the stage is set for a professional-looking and lasting finish.
Paint Selection
Drawing from my 20 years of boating experience, selecting the right paint for an aluminum boat is crucial. The paint must be durable, resist corrosion, and adhere strongly to the aluminum surface.
Types of Aluminum Boat Paint
When painting aluminum boats, the type of paint you choose is critical for both the longevity and appearance of your vessel. There are essentially three primary types:
- Epoxy Paint: Known for its superior durability and resistance to abrasion, epoxy paint forms a hard, water-resistant layer making it an excellent choice for below-the-waterline applications.
- Polyurethane Paint: Offers a high-gloss finish and excellent UV protection. This type of paint is more flexible than epoxy and is often favored for its aesthetic appeal.
- Enamel Paint: A more budget-friendly option, enamel paint is easier to apply but does not offer the same level of protection as epoxy or polyurethane.
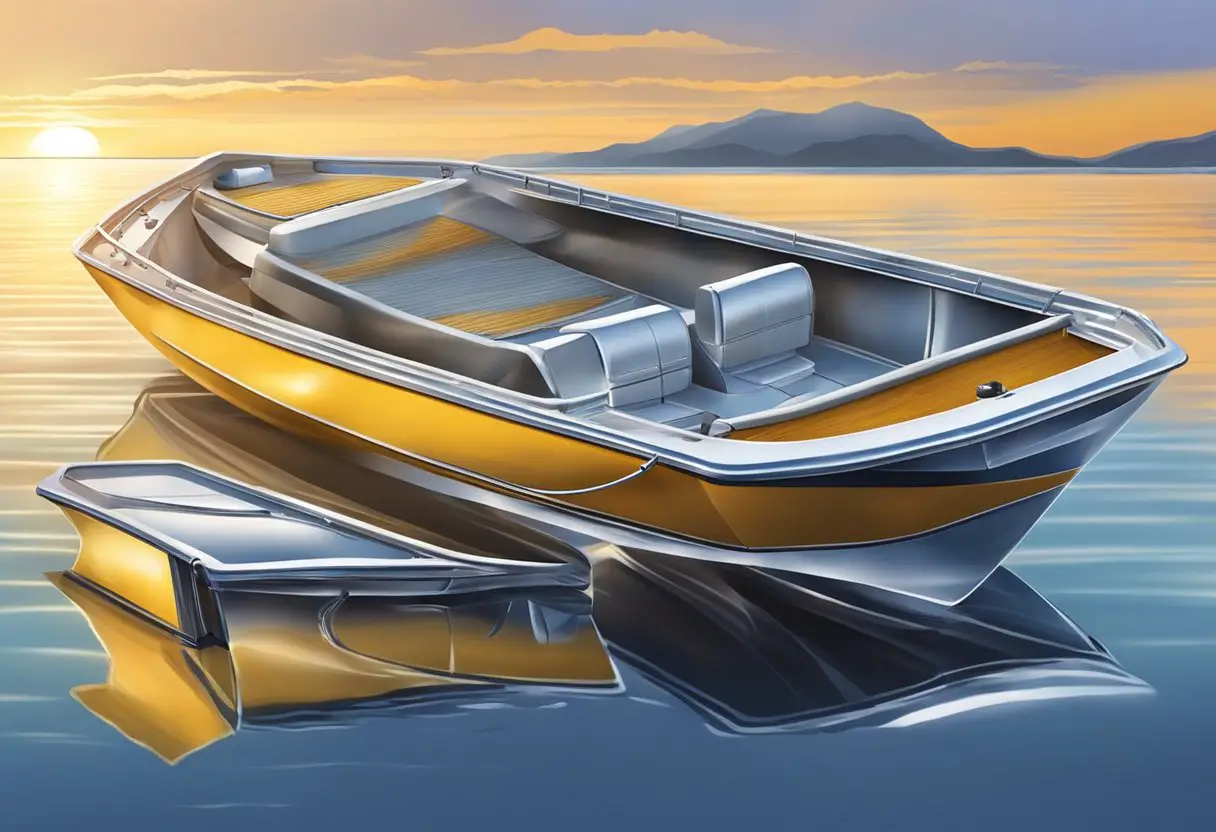
Paint Color Considerations
Selecting a color for your aluminum boat is not just a matter of personal preference. Here are some aspects to keep in mind:
- Visibility: Bright colors like yellow or red are more visible in the water, which can be beneficial for safety purposes.
- Heat Absorption: Darker colors absorb more heat, which may not be ideal in hot climates as it can influence the interior temperature of the boat.
- Blending In: If using the boat for fishing or hunting, consider earth tones or camouflage patterns to blend with the natural environment.
Choosing the right type and color of paint will not only enhance the appearance of your aluminum boat but also provide a layer of protection against the elements.
Application Techniques
In my two decades of boating, I’ve refined my approach to painting aluminum boats, focusing on efficient methods that ensure a smooth and durable finish.
Brush and Roller Methods
For small to medium-sized boats, brush and roller application is both practical and cost-effective. Here’s the process I follow:
-
Preparation: Before applying any paint, the aluminum must be clean, dry, and lightly sanded. This ensures proper paint adhesion.
-
Primer: A self-etching primer is key for aluminum surfaces to provide a strong foundation for the topcoat.
Paint Application:
- Brush: Using a high-quality brush, I apply paint with long, even strokes to minimize brush marks.
- Roller: A foam roller is suitable for larger surfaces, offering a smooth finish. I roll in one direction then cross-roll to distribute the paint evenly.
-
Layers: I typically apply two coats of paint, allowing sufficient drying time between layers to achieve the desired thickness and protection.
Spraying Method
Spraying offers a more even coat over large areas and is my preferred method for larger vessels.
-
Equipment: A high-quality spray gun and appropriate safety gear are necessary. I ensure the nozzle is clean for a consistent spray pattern.
-
Primer: Just as with brushing, a self-etching primer is applied first. I spray in a well-ventilated area and maintain a consistent distance and speed to avoid drips and sags.
Topcoat:
- Technique: Keeping the spray gun parallel to the boat’s surface, I overlap each pass by about 50% for uniform coverage.
- Finish: Multiple light coats are preferable to a single heavy coat. This avoids runs and ensures a smooth finish.
Drying and Curing Process
In my 20 years of boating experience, I have found the drying and curing process to be a critical step in ensuring a long-lasting finish when painting an aluminum boat. Here’s a breakdown of the procedure:
Initial Drying:
- After applying paint, it’s crucial to allow sufficient time for the surface to dry to the touch.
- Temperature and Humidity: Optimal conditions typically range from 50-85 degrees Fahrenheit with low humidity.
- Duration: Depending on the paint, initial dry times can vary from 2 hours for fast-dry enamels to 12 hours for standard marine paint.
Curing Process:
- Full Cure: This can take anywhere from 7 to 14 days, where the paint achieves maximum hardness and resistance.
- Factors Affecting Cure Time: Environmental factors and paint thickness play a significant role here.
Post-Cure Handling:
- Once fully cured, the paint will be durable and more resistant to the elements.
- My advice is to avoid rushing the process; the wait contributes to a superior and longer-lasting finish.
Precautions:
- Do not expose the fresh paint to water or heavy handling during the initial drying phase.
- While it might be tempting, refrain from moving the boat too soon.
In my practice, adhering to the manufacturer’s recommended timeframes and conditions has proven to be invaluable for a pristine paint job that endures the challenges of the marine environment.
Maintenance Tips

Drawing from my 20 years of boating experience, I’ve learned that keeping an aluminum boat in top condition hinges on two essential practices: regular cleaning and touch-up maintenance. These efforts prevent corrosion and maintain the vessel’s aesthetic appeal.
Regular Cleaning
Frequency:
- Weekly: Rinse with fresh water after each use to remove salt and debris.
- Monthly: Wash with a mild detergent and water.
Process:
- Rinse the boat thoroughly to remove loose debris.
- Wash using a soft brush or cloth with the detergent solution.
- Rinse again with fresh water to remove soap residue.
- Dry the boat completely with a clean, microfiber towel to prevent water spots and streaks.
Advantages:
Regular cleaning prevents the buildup of materials that can damage the paint and aluminum through chemical or abrasive action.
Touch-Up Practices
Detecting Issues:
- Inspect the boat for chips or scratches in the paint after outings, focusing on high-traffic and impact-prone areas.
- Identify areas where the bare aluminum is exposed, as prompt action is required to prevent corrosion.
Repair Process:
- Clean the area with a solvent to ensure good adhesion.
- Prime then paint, using products compatible with aluminum, such as those suggested in a simple steps guide.
Considerations:
Choose the same brand of paint for the primer and topcoat to ensure compatibility and the best protective seal, following the manufacturer’s instructions carefully.
Through methodical cleaning and vigilant touch-up work, I maintain my aluminum boat’s integrity and aesthetic, which in turn sustains its value and performance.
Environmental Considerations
Selecting the right paint for my aluminum boat involves more than just color and cost. It’s important to consider the environmental impact of the paint I choose, such as its effects on water bodies and compliance with environmental regulations.
VOC Regulations
Volatile Organic Compounds (VOCs) are chemicals that vaporize at room temperature and can cause environmental and health problems. In my 20 years of boating experience, I’ve seen stricter VOC regulations take effect, which directly impact the types of paint I can use on my boat. For instance, certain states restrict the use of high-VOC marine paints due to their potential to contribute to air pollution. Compliance with these regulations is not merely an ethical decision but a legal necessity.
Eco-Friendly Paint Options
Seeking out eco-friendly paint options has become a priority for me, in order to minimize my craft’s environmental footprint. The market offers water-based aluminum boat paints that are lower in VOCs and less harmful to aquatic ecosystems. For saltwater areas, I’ve found that salt-resistant paints can prevent corrosion without causing undue environmental harm. Moreover, products exist that are specifically formulated to reduce the leaching of harmful chemicals into marine environments, thus preserving water quality.
By incorporating these considerations into my paint selection, I ensure my boating practices are more sustainable and environmentally friendly.
Safety Precautions
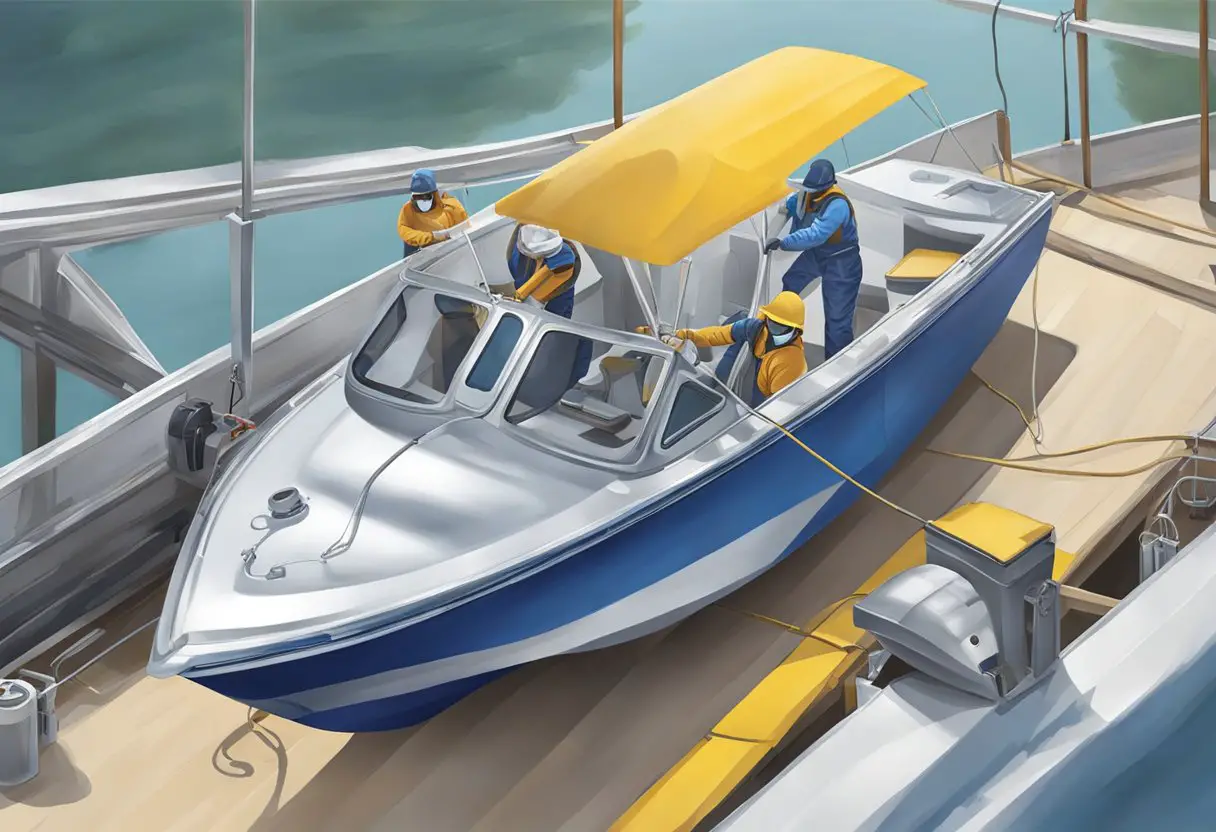
When painting an aluminum boat, it’s crucial to prioritize safety. Drawing from my 20 years of boating experience, I can attest that thorough preparation can prevent many accidents. Here’s a distilled guide to help you navigate the process safely:
Ventilation
Always work in a well-ventilated area. If painting indoors, utilize exhaust fans and keep doors open to ensure a fresh air supply.
Protective Gear
Wear the proper safety equipment:
- Goggles: To shield your eyes from harmful chemical splashes.
- Gloves: Use chemical-resistant gloves to protect your hands from irritation.
- Respirator: A mask or respirator can prevent inhalation of toxic fumes.
Fire Safety
- No Open Flames: Ensure there are no open flames or sources of sparks nearby.
- Fire Extinguisher: Keep a fire extinguisher on hand in case of an emergency.
Chemical Handling
- Read Labels: Check the paint and solvent labels for specific safety advice.
- Disposal: Dispose of any hazardous waste according to local regulations.
First Aid
Have a first aid kit accessible and familiarize yourself with how to address chemical burns or reactions.
Stable Workspace
Ensure that your boat is securely docked or supported to avoid any movement that could cause spills or falls.
By adhering to these guidelines, you can help ensure that your boat painting project is completed without incident. Safety is paramount in these endeavors and must not be overlooked.
Tools and Equipment Needed
In my 20 years of handling boats and their maintenance, I’ve learned that painting an aluminum boat requires specific tools and equipment to achieve a professional finish. Below I’ve outlined the essentials you’ll need before starting your painting project.
Safety Gear:
- Gloves: To keep hands clean and protected.
- Respirator Mask: For protection against fumes.
- Safety Glasses: To shield eyes from debris.
Preparation Tools:
- Pressure Washer or Hose: For initial cleaning.
- Degreaser: To remove any buildup of oils and residues.
- Sandpaper: A variety from 120-grit for rough sanding to 220-grit for smoothing out the surface.
- Wire Brush: To tackle any rust or tough debris.
Paint Application Equipment:
- Primer: A self-etching primer designed for aluminum.
- Paint: Marine grade, specifically formulated for aluminum.
- Paint Sprayer: Preferred for an even coat. Alternatively, brushes or rollers can be used for a manual approach.
Other Essentials:
- Painter’s Tape: To mask off areas not to be painted.
- Drop Cloths or Plastic Sheeting: To protect surrounding areas from paint splatter.
- Rags and Cleaners: For wiping down surfaces between steps.
With the right setup and a methodical approach, your aluminum boat can be restored to a state that will not only look great but also provide extra protection from the elements.
Troubleshooting Common Issues

With my 20 years of experience in boating, I’ve come across various issues with aluminum boat paint. Here’s a guide to help you navigate some of the common problems:
Peeling or Flaking Paint
- Cause: Inadequate surface preparation or moisture seepage underneath the paint layer.
- Solution: Remove loose paint, thoroughly dry and prep the surface before repainting.
Chalking (Fading)
- Cause: UV radiation exposure or using low-quality paint.
- Solution: A polishing compound may be used to restore shine. Apply a top coat with UV protection after polishing.
Blisters and Bubbles
- Cause: Moisture trapped beneath the paint or paint applied over contaminants.
- Solutions:
- Remove blisters by scraping.
- Let the surface dry completely.
- Apply a proper sealer before repainting.
Corrosion
- Cause: Electrolysis or galvanic reactions, often due to improper grounding.
- Solution: Ensure proper electrical connections and use anti-corrosive primers.
Paint Thickness on Edges
Thin paint on sharp edges tends to be less protective and suffer more wear.
Prevention Steps:
- Round off sharp edges before painting.
- Apply paint liberally on these areas to ensure full coverage.
Remember:
- Always use paints and primers specifically designed for aluminum.
- Maintain a clean, dry surface before painting.
- Regular inspection of painted surfaces can prevent long-term issues.
This quick guide should assist in keeping your aluminum boat in excellent condition, avoiding common painting pitfalls.
Frequently Asked Questions
Drawing from my 20 years of boating experience, I’ll address some specifics about aluminum boat painting that will streamline your decision-making process.
What are the best types of paint to use on an aluminum boat?
For aluminum boats, it’s imperative to use a paint that can firmly adhere to metal surfaces. High-quality marine-grade paints are my top recommendation. They’re designed specifically for such applications and include brands like Interlux and TotalBoat.
How do you properly prepare an aluminum boat for painting?
First, clean the hull thoroughly to remove any dirt or grime. Then, sand the surface to create a rough profile for better paint adhesion. An additional step of using a specialized aluminum etching primer can enhance the paint’s grip on the surface. Detailed preparation is critical for a long-lasting finish.
What are some durable paint options for an aluminum boat?
When durability is the focus, two-part epoxies and polyurethane paints rise to the occasion. These products form a robust, hard-wearing layer that resists abrasions and challenging marine environments. Epoxy primers beneath polyurethane topcoats can significantly extend the life of the paint job.
Can you recommend a variety of color choices for painting an aluminum boat?
Indeed, the palette for aluminum boat paints encompasses a wide range of colors. Most marine paint suppliers offer a broad spectrum from vivid hues to more subdued tones. It allows for personal customization while still providing the needed protection. You can explore color options from providers like TotalBoat who offer diverse choices.
What are the key factors to consider when selecting paint for an aluminum boat bottom?
The boat’s bottom paint should prevent algae and barnacle growth, resist UV damage, and endure prolonged immersion. Antifouling paints are specifically formulated for this role, and it’s wise to choose a product compatible with aluminum to prevent galvanic corrosion, such as Sea Hawk Aluma Hawk.
How does Sea Hawk paint perform on aluminum boats compared to other brands?
Sea Hawk’s Aluma Hawk is a unique single-stage aluminum boat paint that’s acclaimed for antifouling properties and the advantage of not requiring a primer. It simplifies the application while providing strong adhesion and enduring protection, thereby standing up competently against other top-tier marine paints.